March 26, 2013 by akhilendra
How To Install Genesis Framework and Studiopress Themes
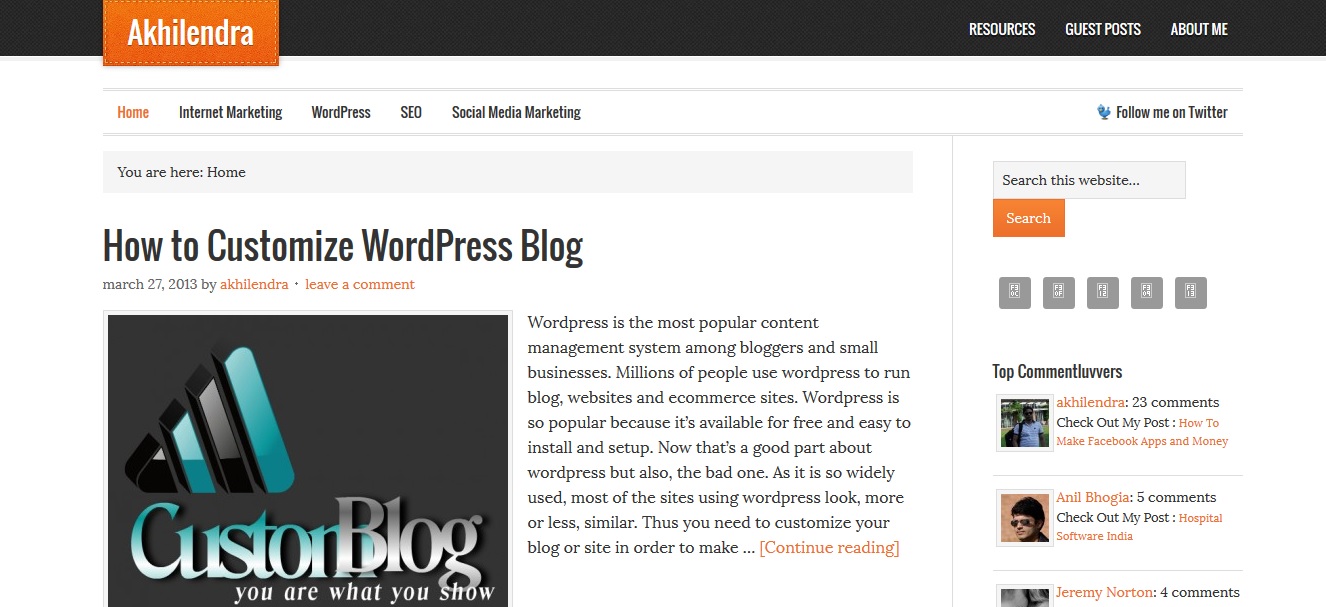 If you have visited by blog before, you would be aware that I was using thesis themes. I was using blogskin from thesis awesome to further manage it. But with the recent update to thesis 2.0, it became a tedious task to learn and design thesis 2.0 using it’s skin editor.
Therefore I decided to switch to Studiopress themes which are based on genesis framework.
Genesis framework is as powerful as thesis as far as a theme framework is concerned and studiopress themes are not only “Ready to use” but also, it is extremely easy to customize them if you want to do that.
Let’s see how how to install genesis framework and studiopress themes along with customizing it but before that, a little explanation on why I opted for genesis framework and studiopress themes.
Genesis Framework and Studiopress Themes
A framework is a wordpress theme which can be easily customized to create any kind of website. Genesis framework is one of the best wordpress theme frameworks available.
You can customize it easily using the hooks.
Genesis Theme background – Genesis themes are produced by copyblogger which is a fully fledged business house deal in variety of high quality internet marketing and SEO related products like Premise and Scribe.
They have existed for fairly long in the market which is enough to assert their reliability.
They provide excellent support and tutorials for their products which makes them a very customer friendly organization.
With thesis, I felt that there is a huge lack of tutorials and each time, you need to do something you will have to knock at the door of support forum which is good but again, the entire process will take time and your site is stuck.
Therefore, tutorials and help material is critical to quickly setup your site. You will find help material in abundance with studiopress themes.
I was looking for;
- Solid framework
- Fast page load speed for SEO
- Easy to customize
- Ready to use design
- Attractive display of the content
- Clean design and layout
I opted for Elevan 40 studiopress theme.
This is a clean theme with clear layout and navigation options.
Genesis Themes come loaded with;
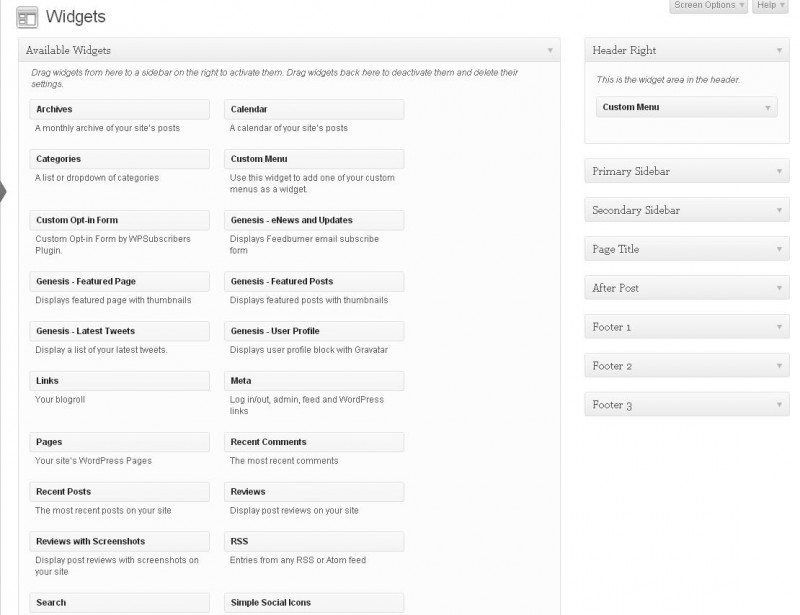
- Variety of widgets
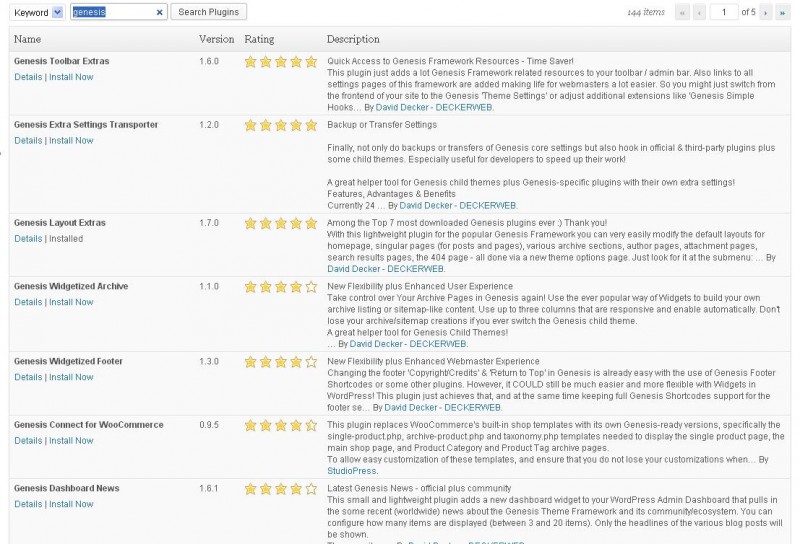
- Variety of plugins to customize studiopress themes
In fact, this is the best part about studiopress themes. Along with tutorials, you get loads of plugins and widgets to customize your theme.
Honestly, it is not that easy to create and design a custom header or landing page. But with Genesis theme, it is a matter of using few widgets.
Now, let’s go through the installation and setup procedure for genesis framework and studiopress themes.
Genesis theme and Studiopress child theme installation
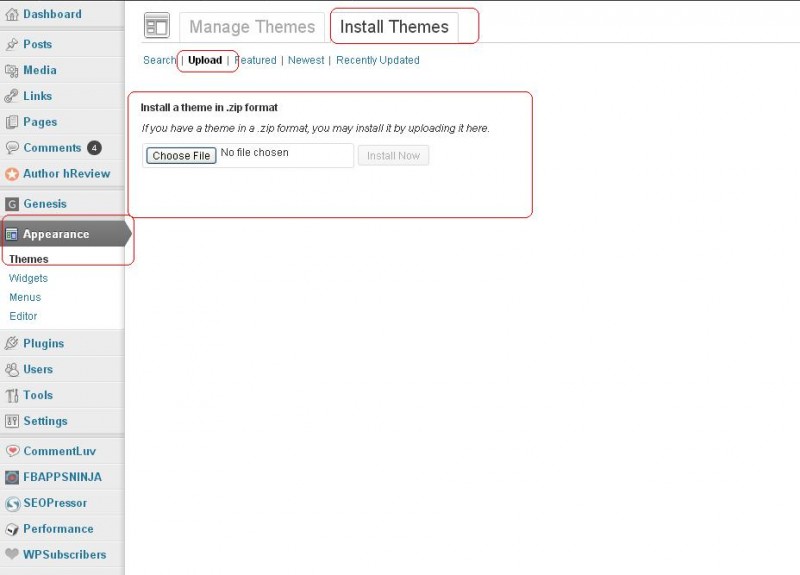
Installation Genesis themes is extremely easy. You can easily install them using the wordpress admin dashboard.
Click on Appearance in the left hand menu > Install Themes > upload
Note – if you have bought only Genesis Theme framework, then you will get only one package which you can download from studiopress theme dashboard whereas if you have also bought any other child theme, then you will have to upload that also.
So, in case of studiopress child themes first upload Zip file with name “Genesis” and then your child theme like Elevan 40 or Metro.
Once you do that, you are up and ready. You just have to activate your theme.
You can select your site’s title, tag line and menu option.
Customizing Genesis Theme and Studiopress Theme
At first when you install studiopress themes, your complete latest post will be displayed on homepage. It could look a bit weird as other posts on homepage are presented with post excerpts.
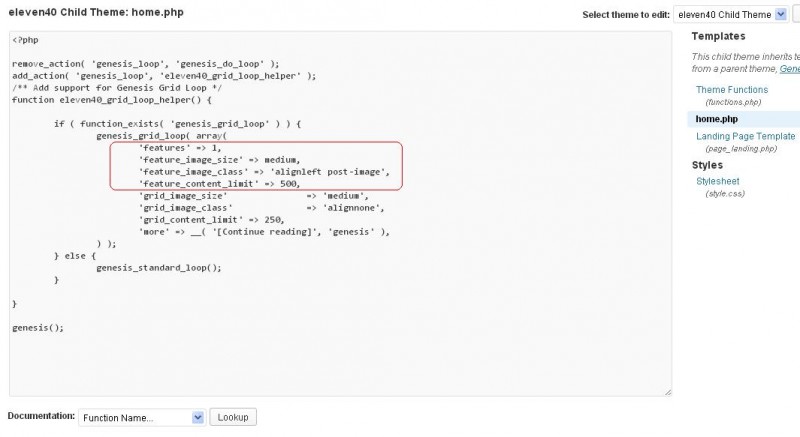
If you want to change the latest post to post excerpts on homepage in studiopress themes, then go to the editor under Appearance menu item and click on that. Then click on home.php on the right hand side,
You can modify in the highlighted area in this image to customize your featured posts on your home page in studiopress themes.
Now your front end is set for
users.
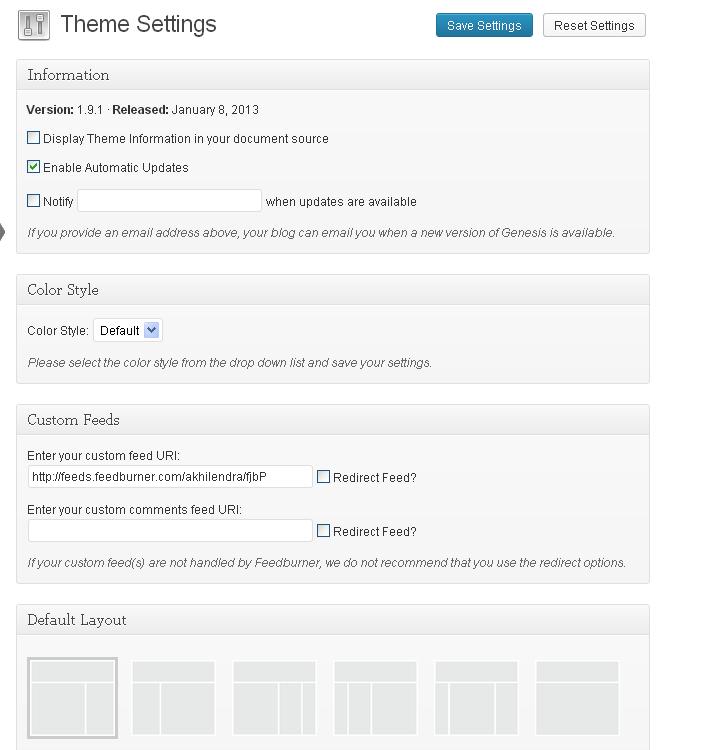
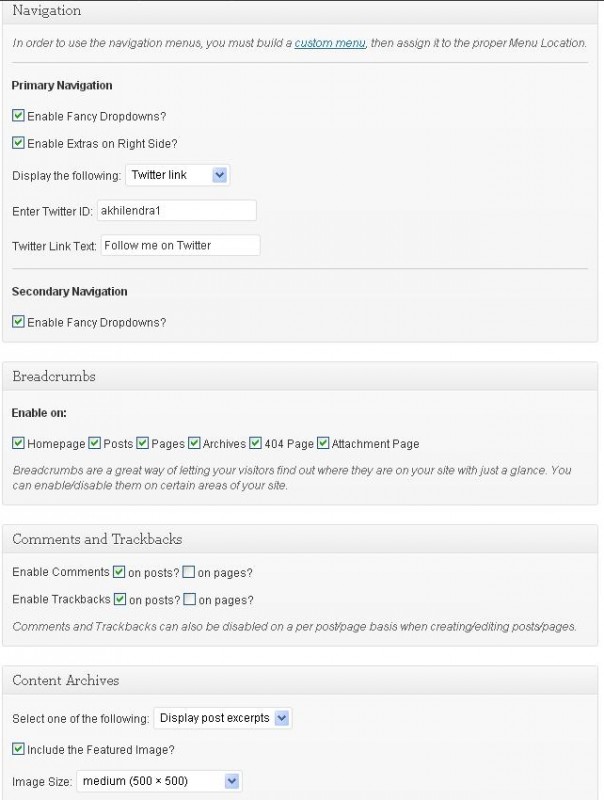
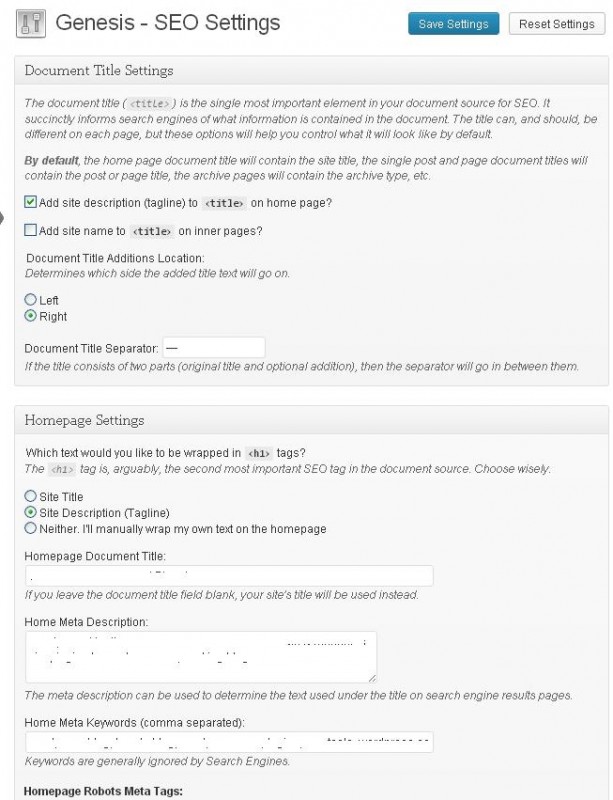
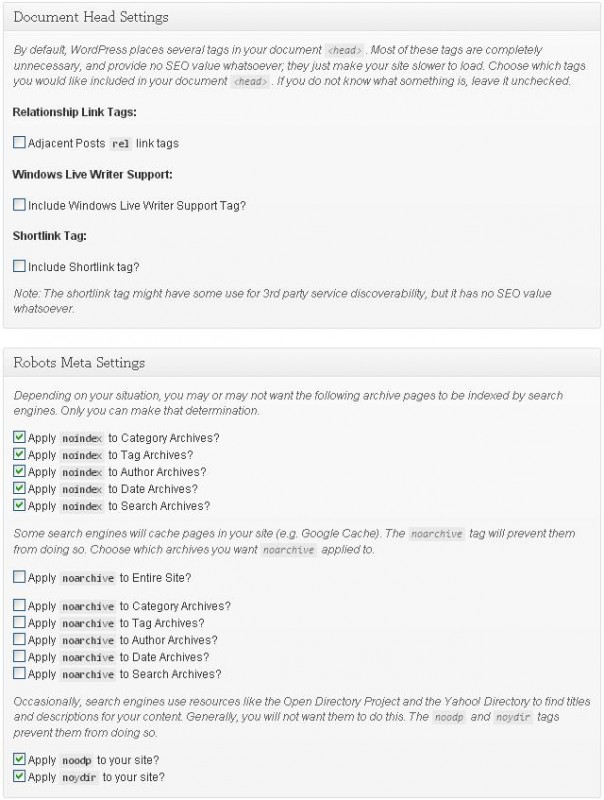
Now you should customize other basic settings and SEO settings in studiopress theme to extract optimum performance.
These settings can be configured in Genesis Tab.
There are help comments in these sections to help you choose optimum setting for your blog.
If you still have questions, feel free to leave your comment.
You will also find loads of code snippet in your studiopress theme dashboard which can be used to customize variety of things on your blog.
If you are interested in elevan 40 theme, you can check out detailed description here.
One note of caution that before you implement these changes on your live blog, first make changes on your blog installed on local machine to check the exact impact. If you want to install wordpress on local machine, read how to install wordpress on xampp.
If you liked this post, please share it on social networking sites like Facebook, Google+ and Twitter.

web-hosting-reviews.icereviews.com/hostgator-reviews">Damon Nolan - April 9, 2013 @ 6:38 am
Yeah,Genesis theme is great,you dont need modify you them,but you can change the layout with you want.I use it on most of my sites
jaipurrugs.com">Aayna - March 30, 2013 @ 12:38 am
This is a well explained as well as brilliantly written tutorial for the installation of Genesis Framework and studio press themes. Thanks for sharing such a detailed step-by-step procedure. Much appreciated!!!
simonsezit.com/courses/adobe/learn-adobe-photoshop-cs6-training-tutorials">Fatima - March 29, 2013 @ 9:07 pm
Thanks for sharing the detailed guide Akhilendra. I really appreciate your knowledge about the subject and this genesis framework tool indeed was very useful to cater all my usage needs at WordPress.
https://akhilendra.com">akhilendra - March 30, 2013 @ 3:54 pm
Thanks a lot Fatima for your compliment.